
- Published on
FIDO2 Passwordless Authentication With Keycloak - Part 2

- Authors
- Name
- Amrut Prabhu
- @amrutprabhu42

This article is the second part of understating what is a FIDO2 passwordless authentication and how it works.
You can read all about FIDO2 authentication and how it works in my first article “FIDO2 Passwordless Authentication With Keycloak — Part 1”.
Let's dive into looking at how we can implement FIDO2 passwordless authentication with Keycloak.
TL;DR: If you want to start using the Keycloak config with FIDO2 passwordless authentication directly, you can refer to it from my GitHub repo here.
Set Up FIDO2 Authentication in Keycloak
For this, we will start an instance of Keycloak using docker-compose.
version: '3.1'
services:
  keycloak:
    image: quay.io/keycloak/keycloak:18.0.2
    command:
      - start-dev
      - --import-realm
    ports:
      - '8080:8080'
    environment:
      - KEYCLOAK_ADMIN=admin
      - KEYCLOAK_ADMIN_PASSWORD=admin
On starting the Keycloak instance and logging into the admin console using the "admin/admin" credentials, we will create a new realm called FIDO2.
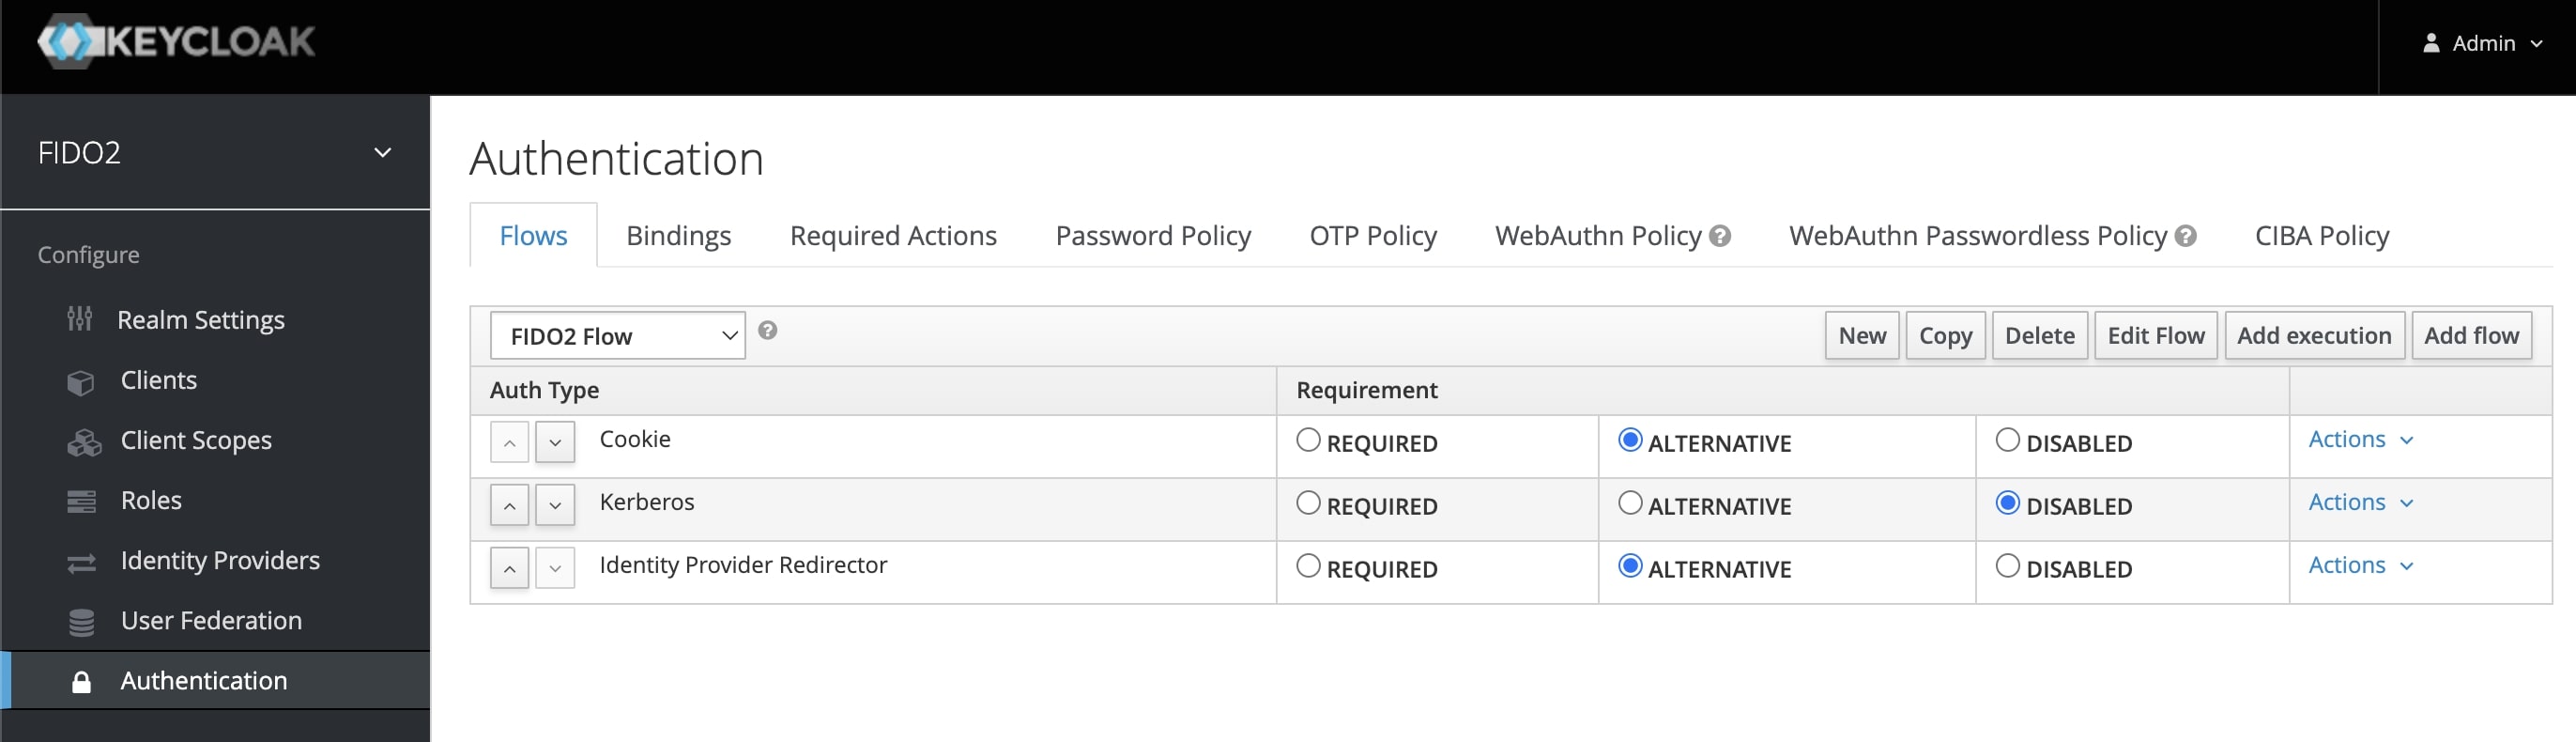
Once you create the realm, navigate to the “Authentication” section which is on the left side panel.


As you can see in the Flows tab, we have the “Browser” flow.
Let’s first create a copy of the browser flow by clicking the “copy” button on the right-hand side.
Once you do that, give it a new name called “FIDO2 Flow”.
Next, delete the “Forms” row using the “Actions” link on the right-hand side.

Now, let's add a new flow.
We will create a new authentication flow in which we will display to the user the username form and then ask for a passwordless authenticator.
For this, add a new flow using the “Add Flow” button and give a new name “FIDO Authentication” and mark it as required.
Next, we will add new executions to the flow. For this, click on the “Actions” link next to the flow you just added and select “Add execution”.
Now, from the drop-down select the “Username form”.
In the same manner, we will add the next execution i.e the “WebAuthn Passwordless Authenticator”.
Once you add this, mark both executions as required as shown in the image below.

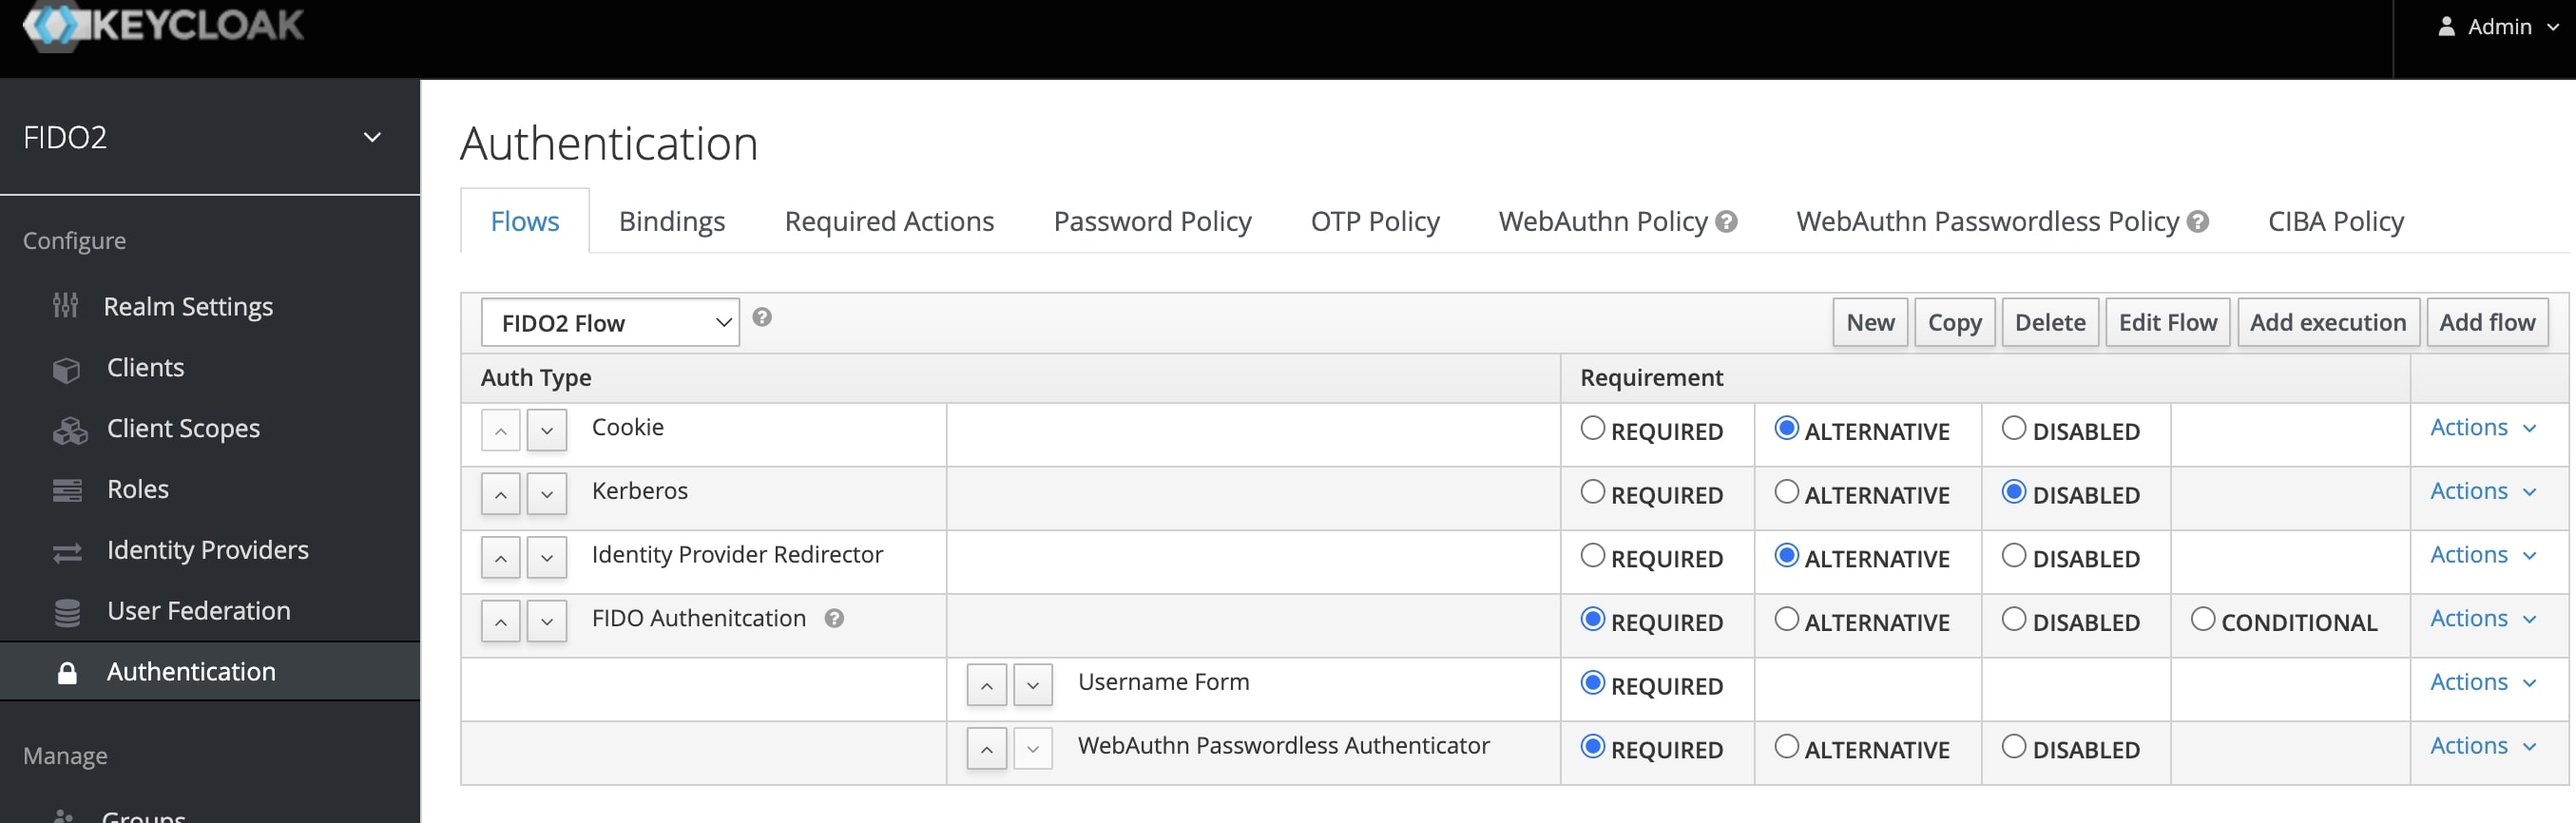
With this, we set up the authentication flow to include first the username form and then the WebAuthn passwordless authenticator.
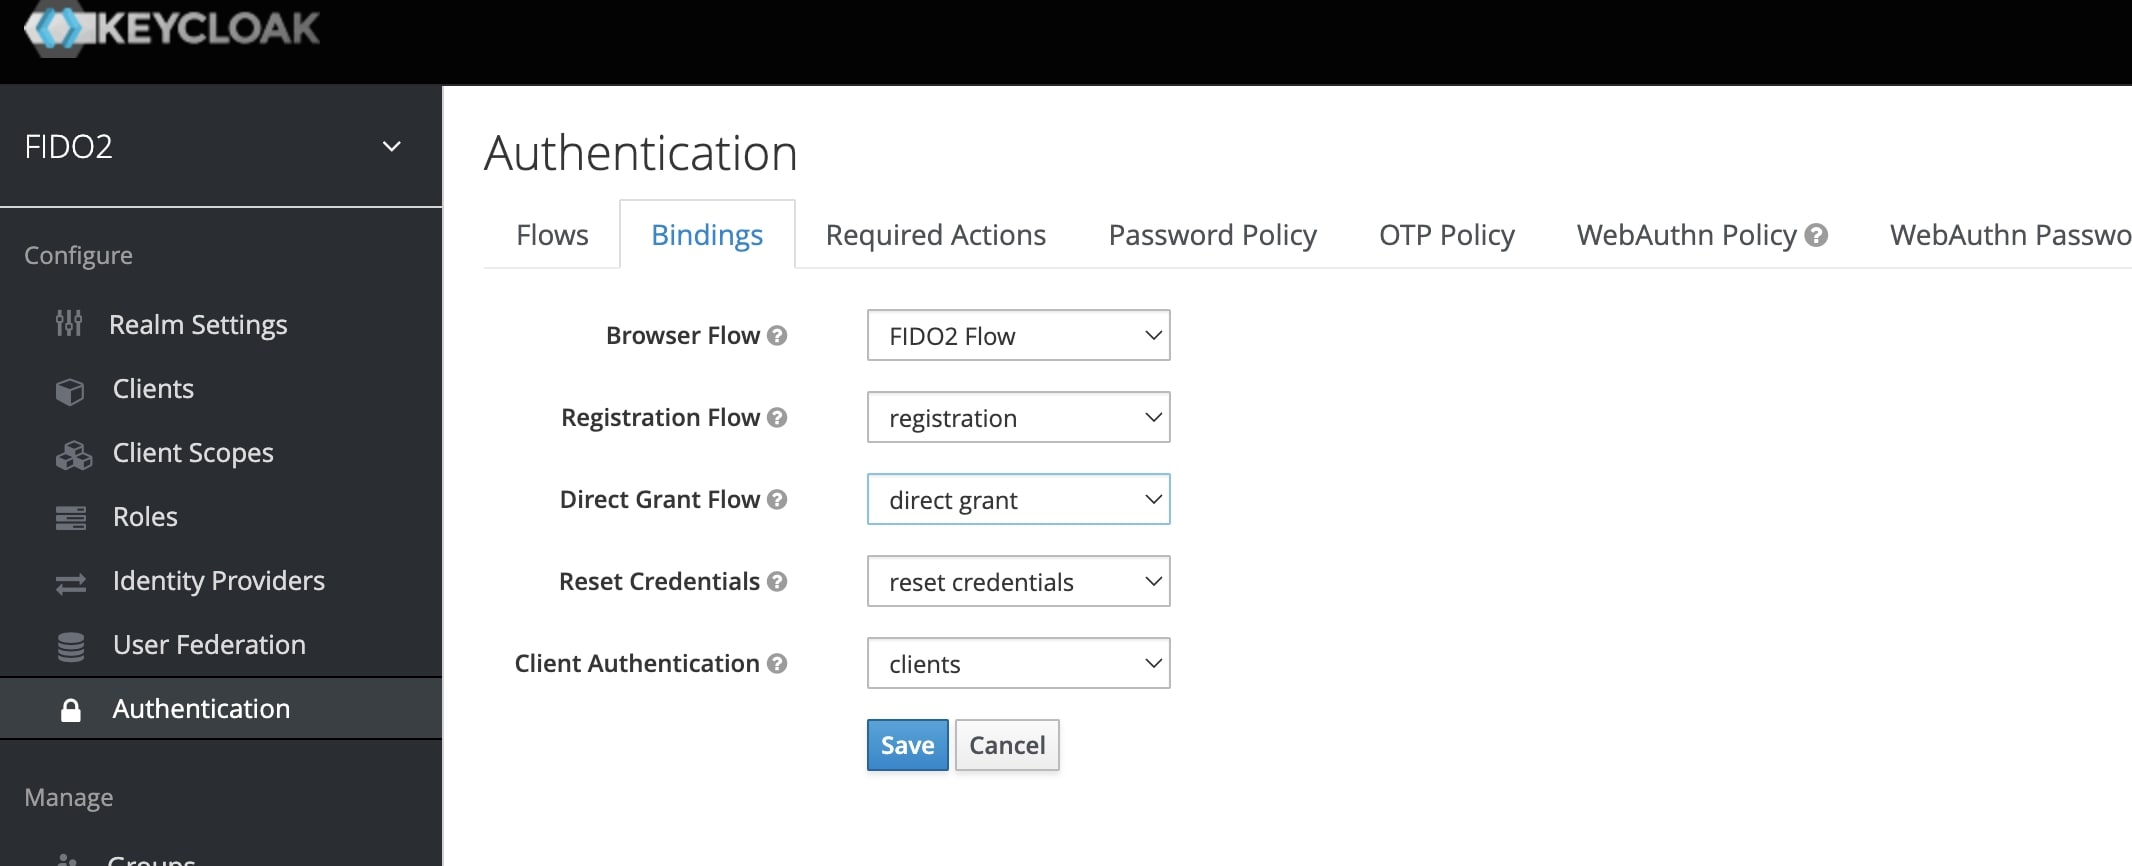
Now let’s bind this new flow we just created as the browser flow.
For this, click on the bindings tab, and for the “Browser Flow” option select the “FIDO2 flow” that we previously created.

Next, we will set this as the default action.
For this, click on the “Required Actions” tab, then click on the “Register” button on the right, select “WebAuthn Register Passwordless” and mark this as the default action as shown below.

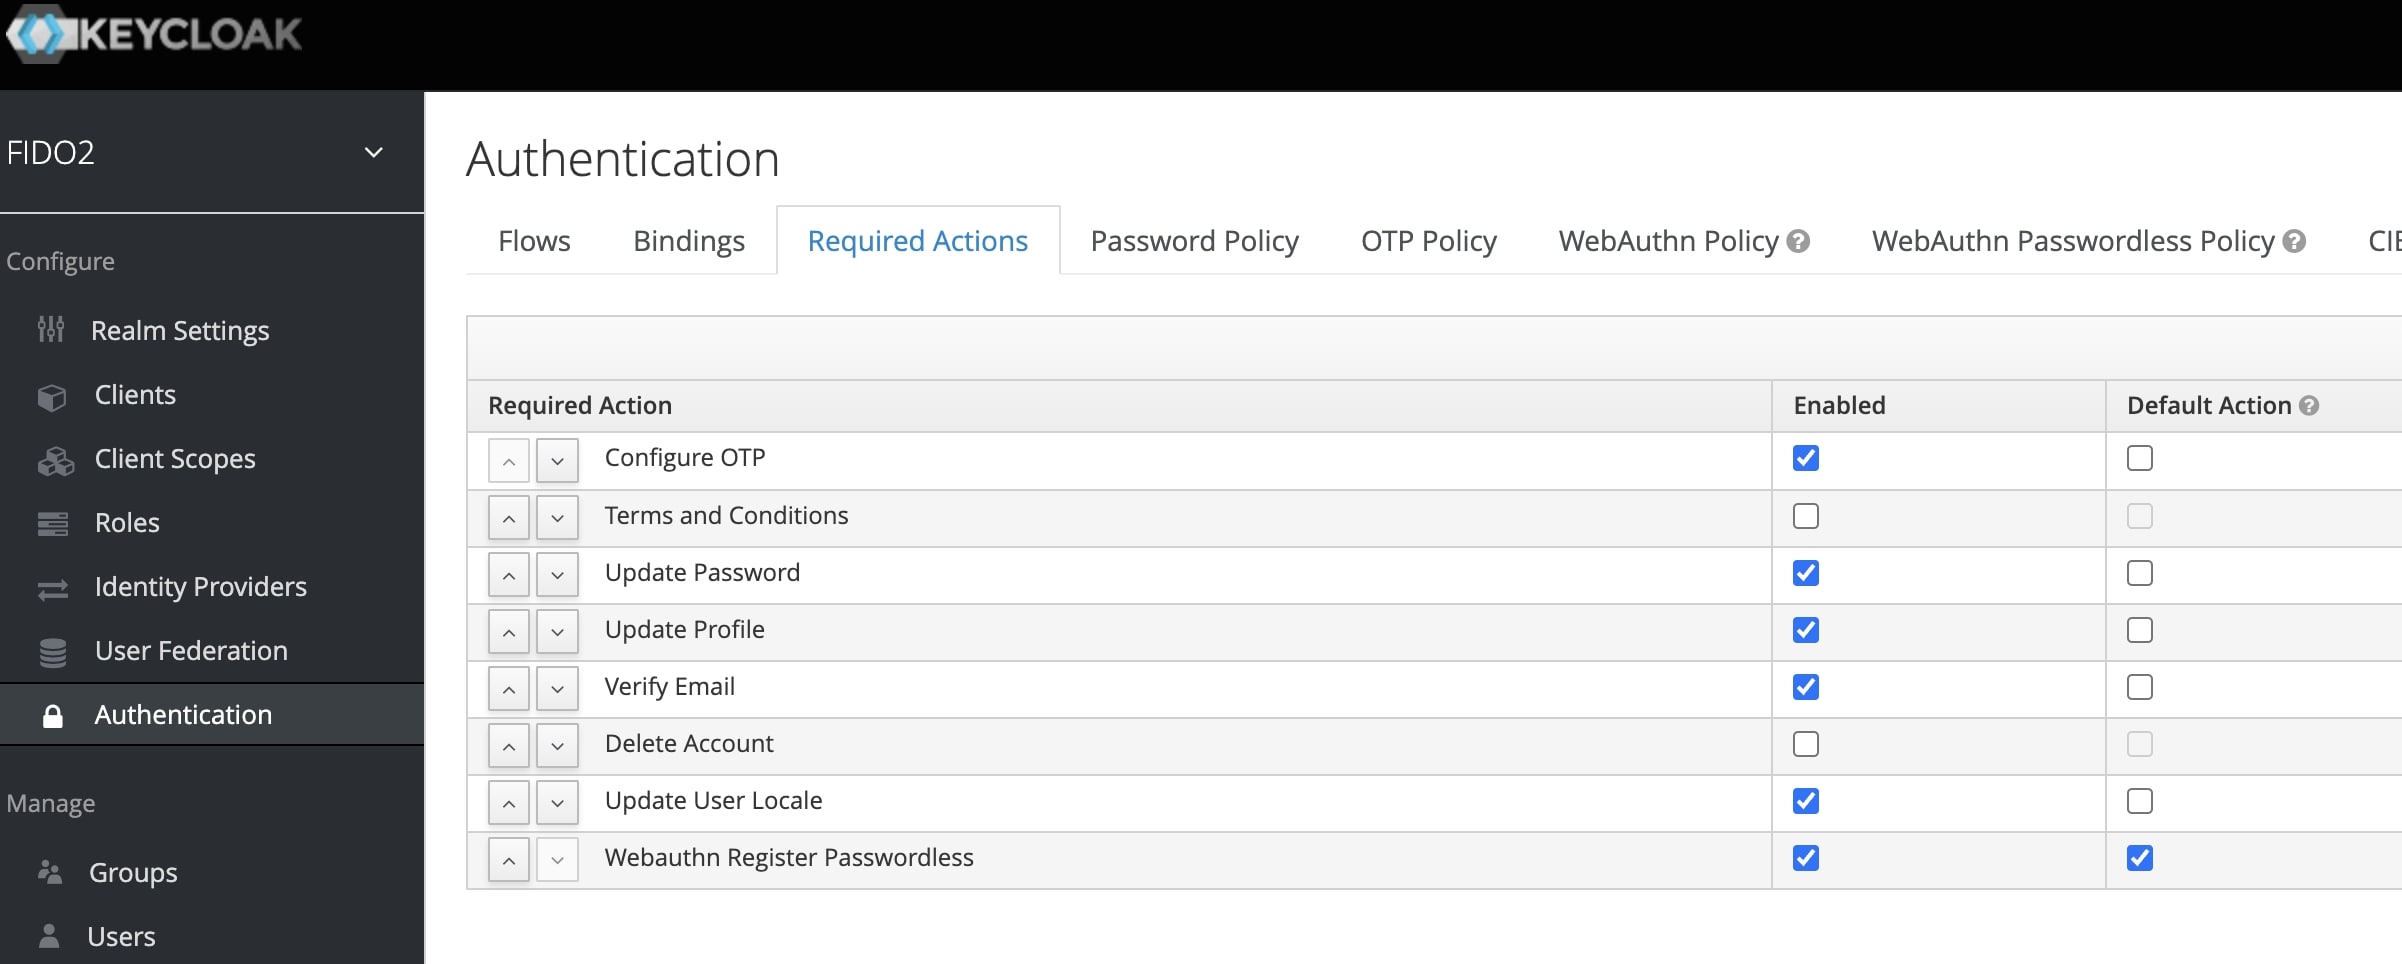
With all of this, we just configured a new authentication mechanism to allow passwordless authentication.
Next, we will now create a client to test this passwordless authentication.
Creating a Keycloak Client
For this let’s go to the client section and create a simple client named “passwordless-client” and give it the URL https://www.keycloak.org/app/

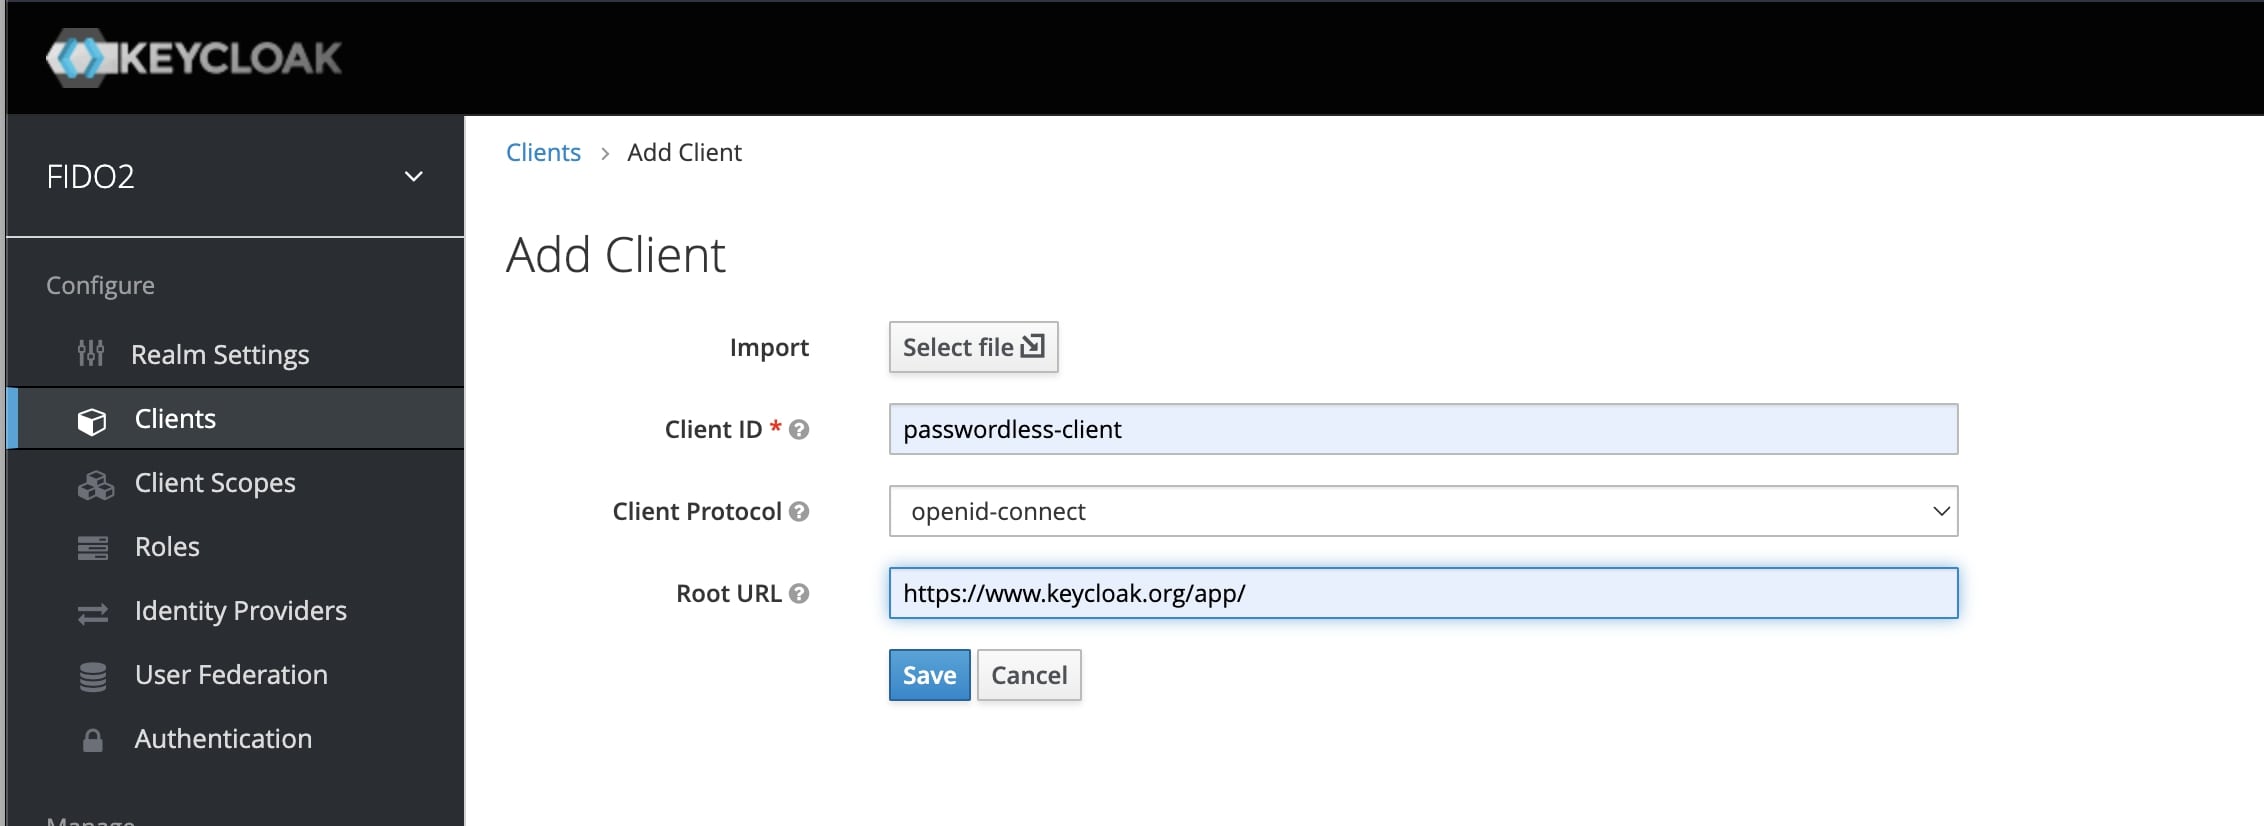
This Keycloak URL will help us to use the client in the browser to perform registration and login without creating a client application from scratch to test the entire authentication flow.
With all of this done, we will now enable user registrations..
For this, click on the “Realm settings” section and select the login tab. Here enable the “User Registration” option.

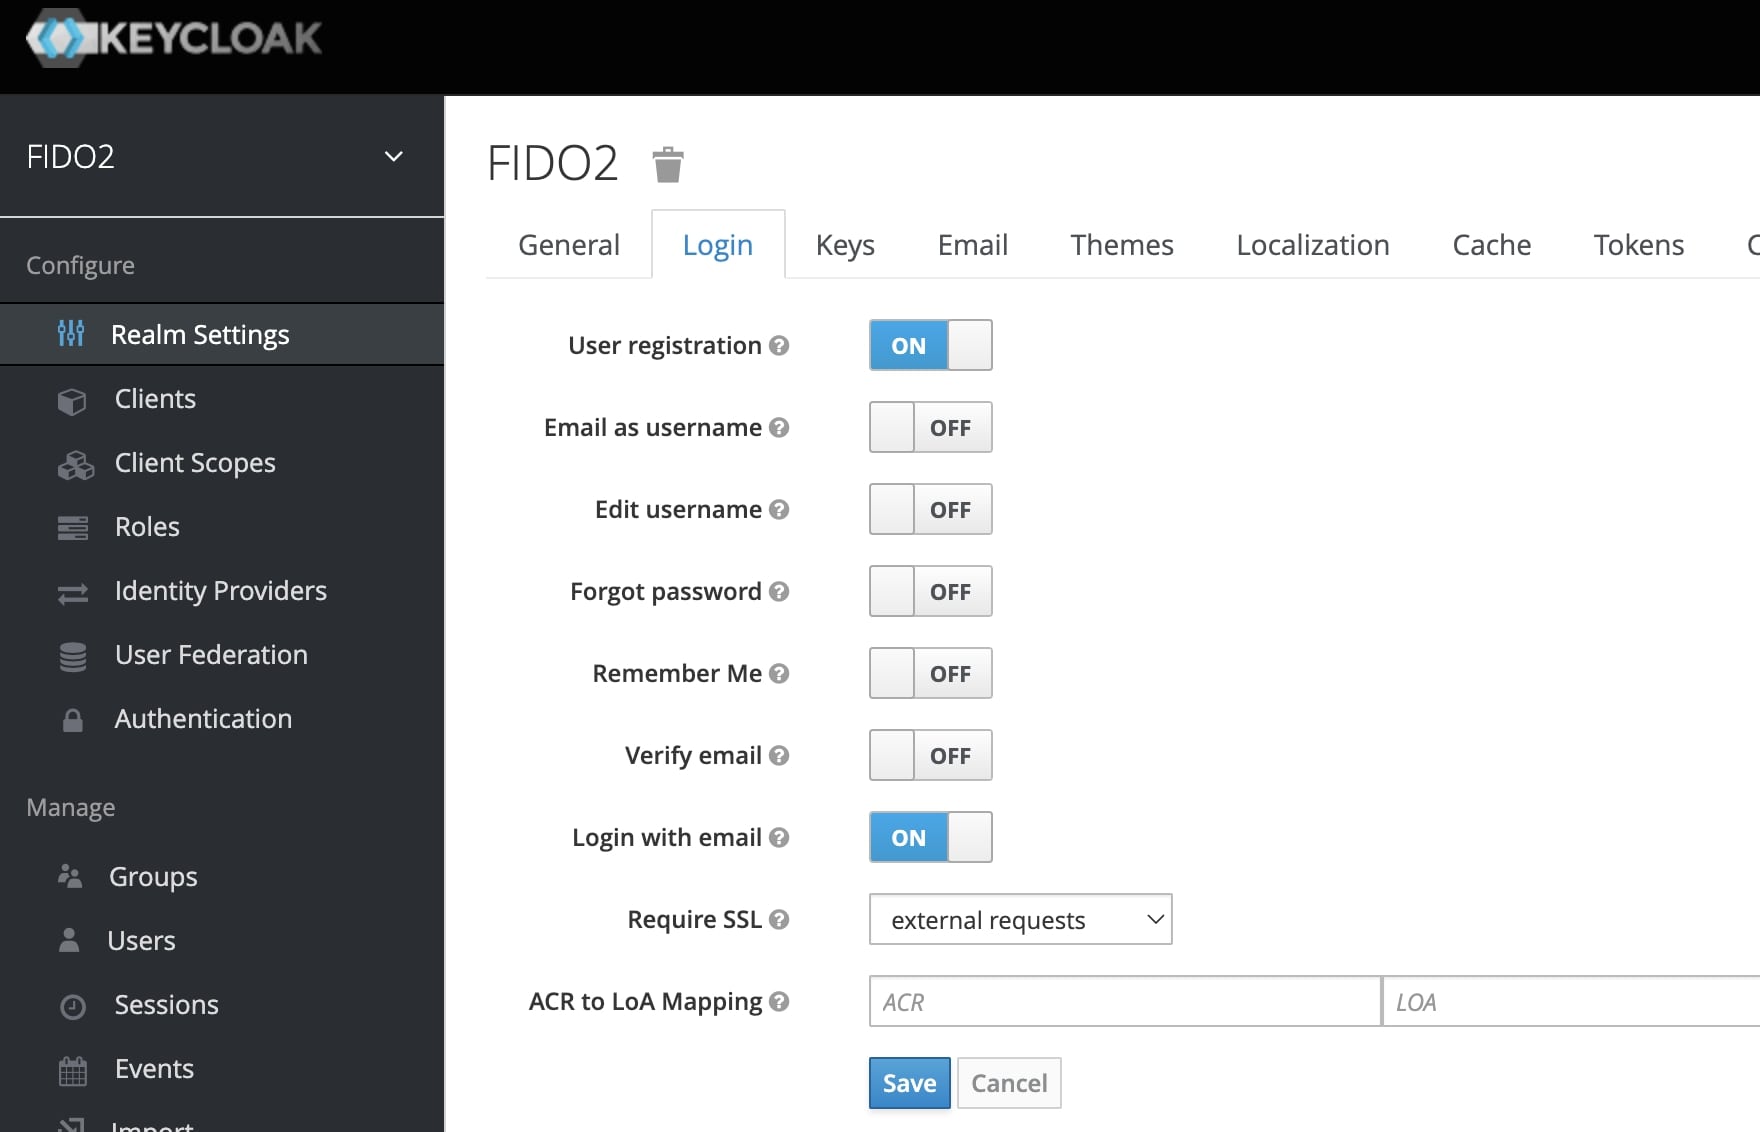
That is all you need to start using the Keycloak client which now has the passwordless authentication mechanism configured at the realm level.
Let's test this.
Testing the Passwordless Authentication.
For this let’s navigate to the URL https://www.keycloak.org/app/, which we had registered with the client before.
Here we will enter the details of our Keycloak instance URL, the client id, and the realm name.

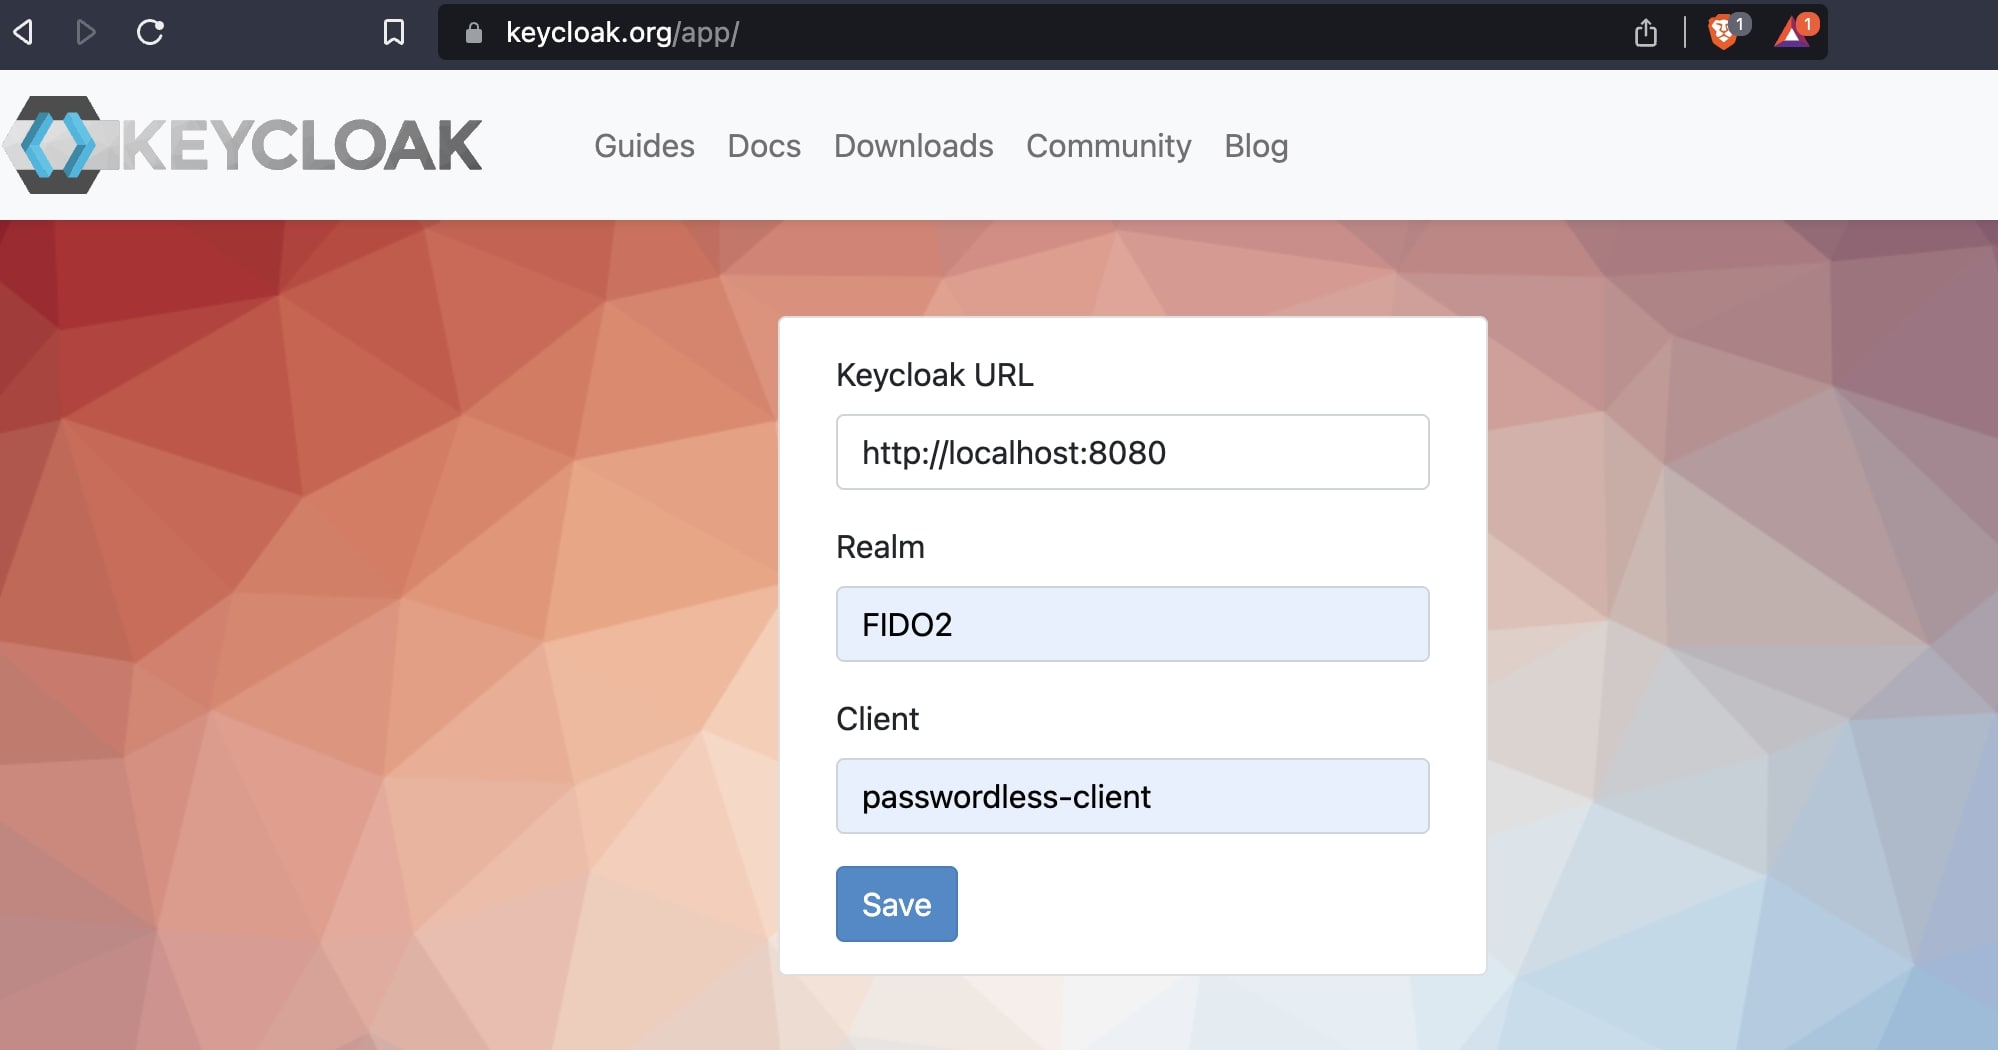
After saving this, you will get two options as below.

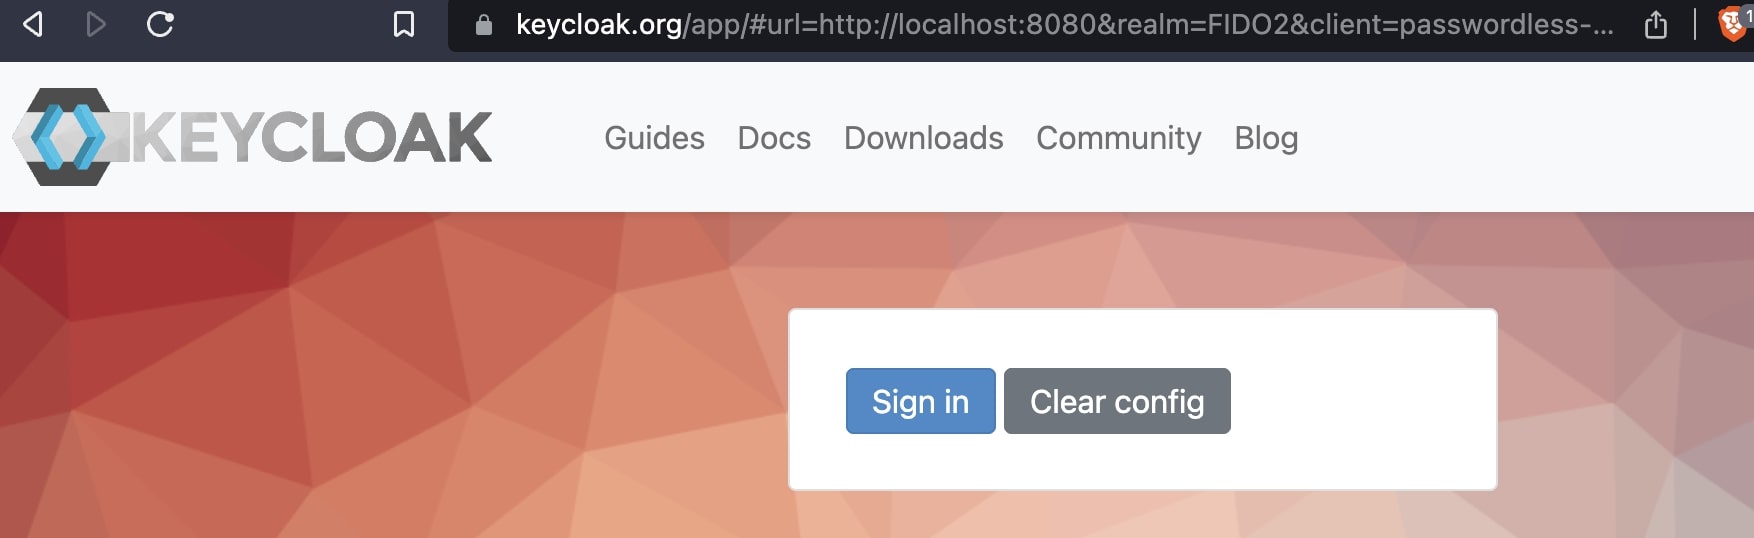
Now, let’s click on the “Sign in” button.
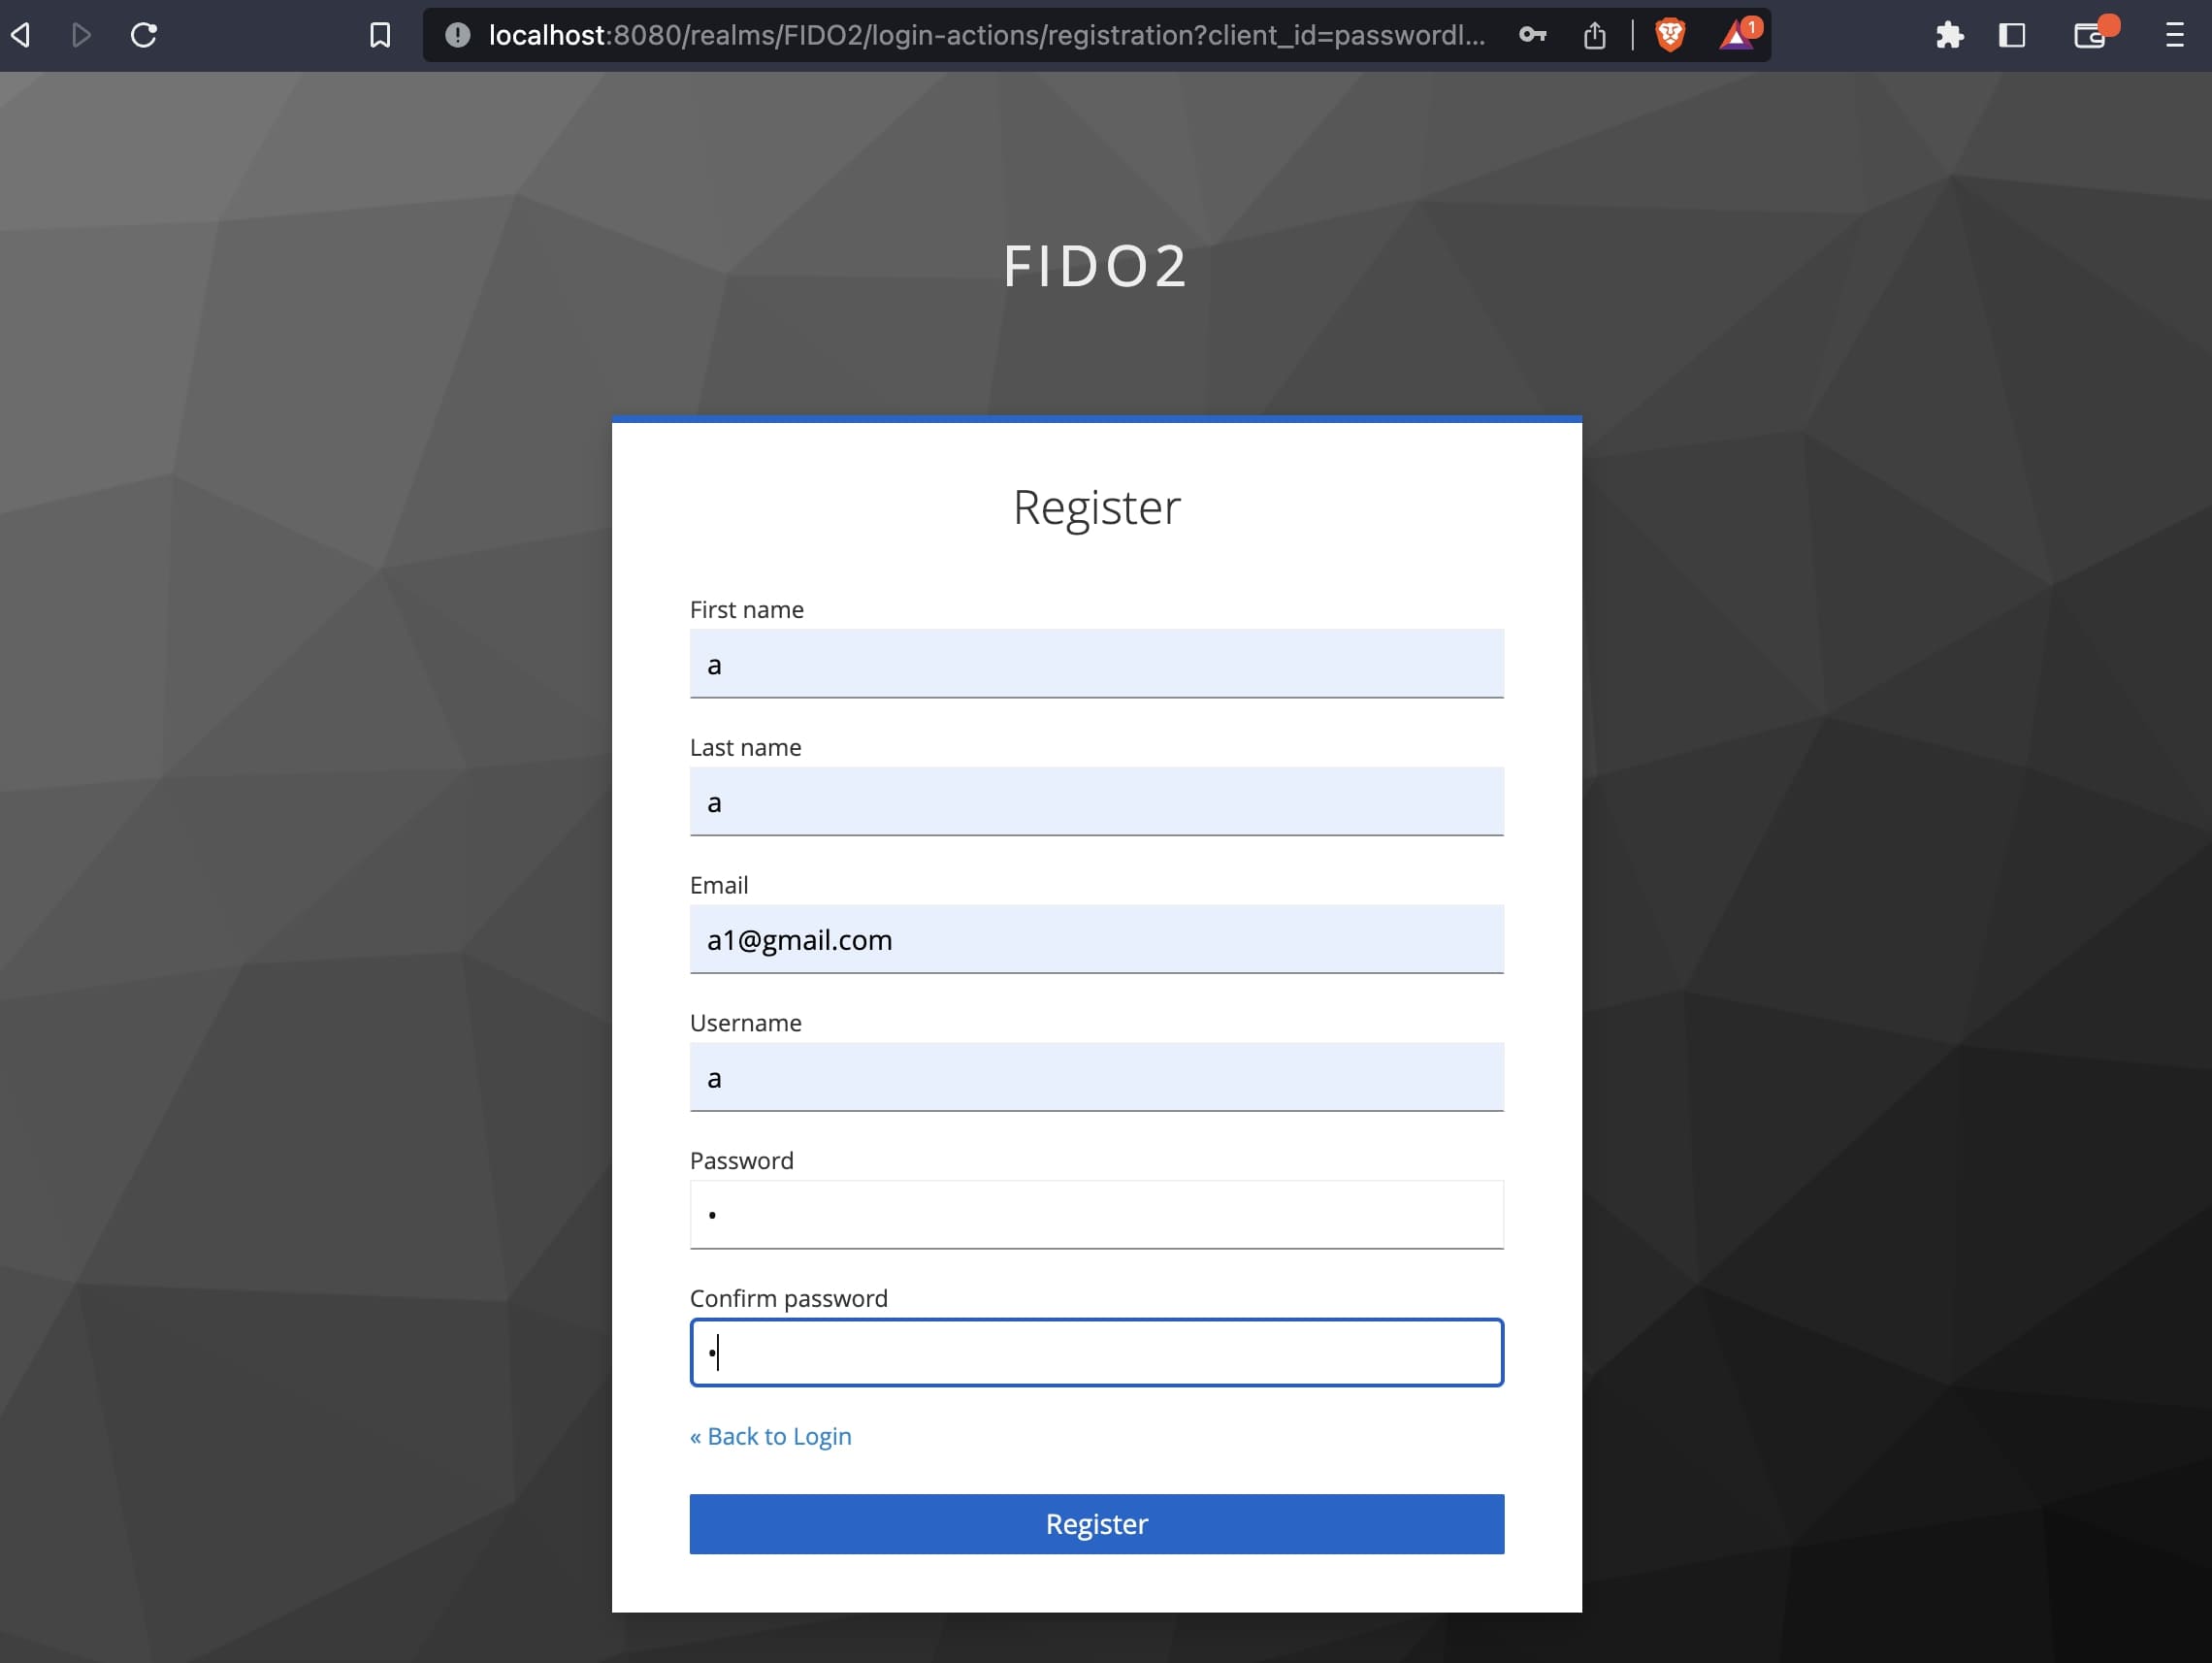
Once we click on it, we will be directed to the login screen. But we do not have any users registered.
So let’s register one by clicking on the “Register” link on the login screen.

Once we register, it will ask you to set up your security key registration as shown below.

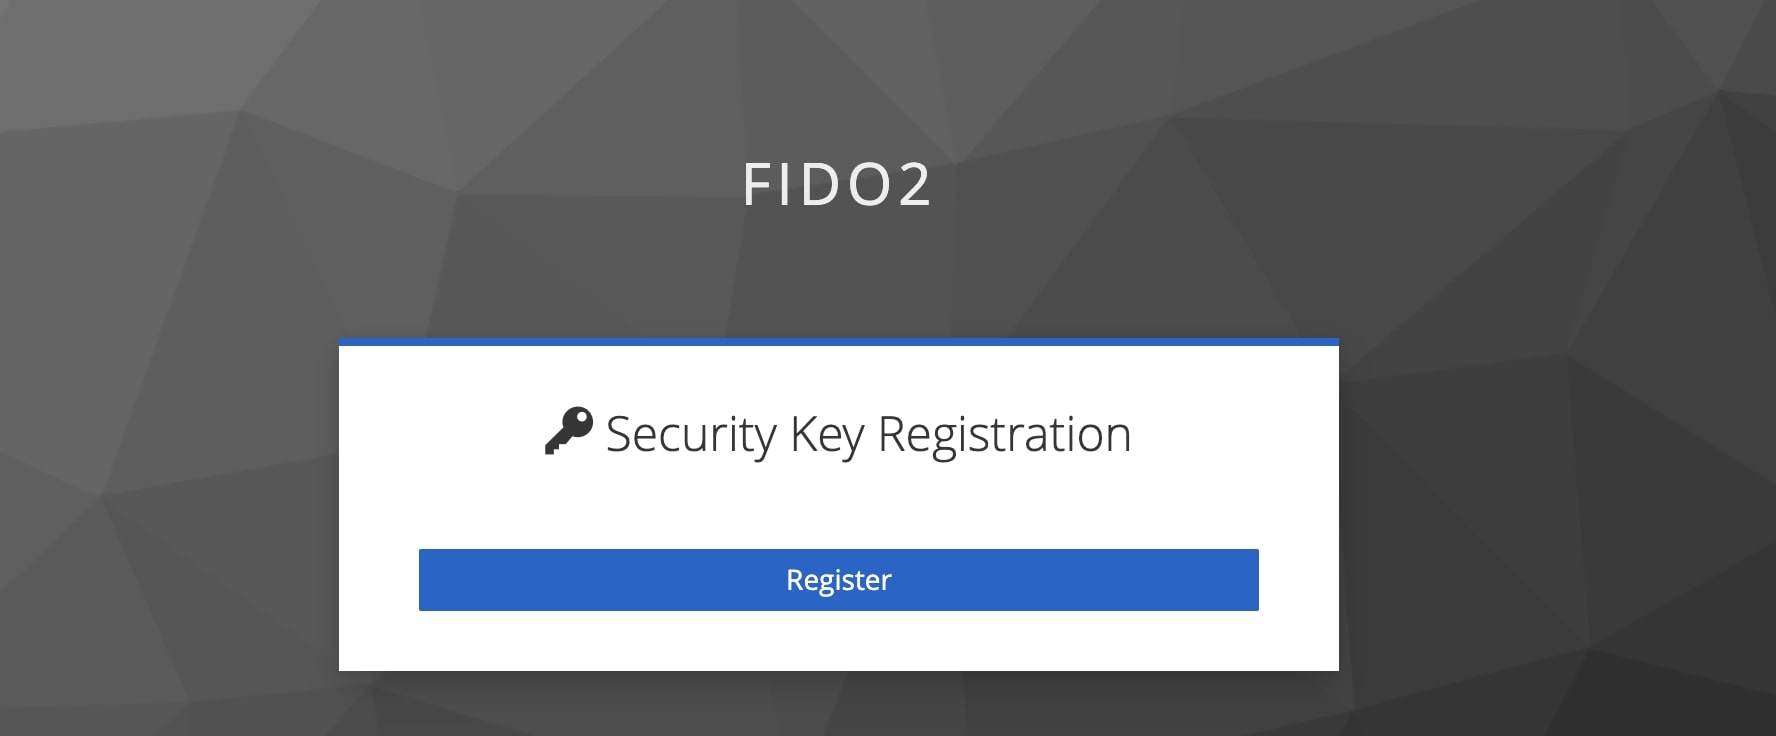
On clicking register, it will show you the available authenticators.

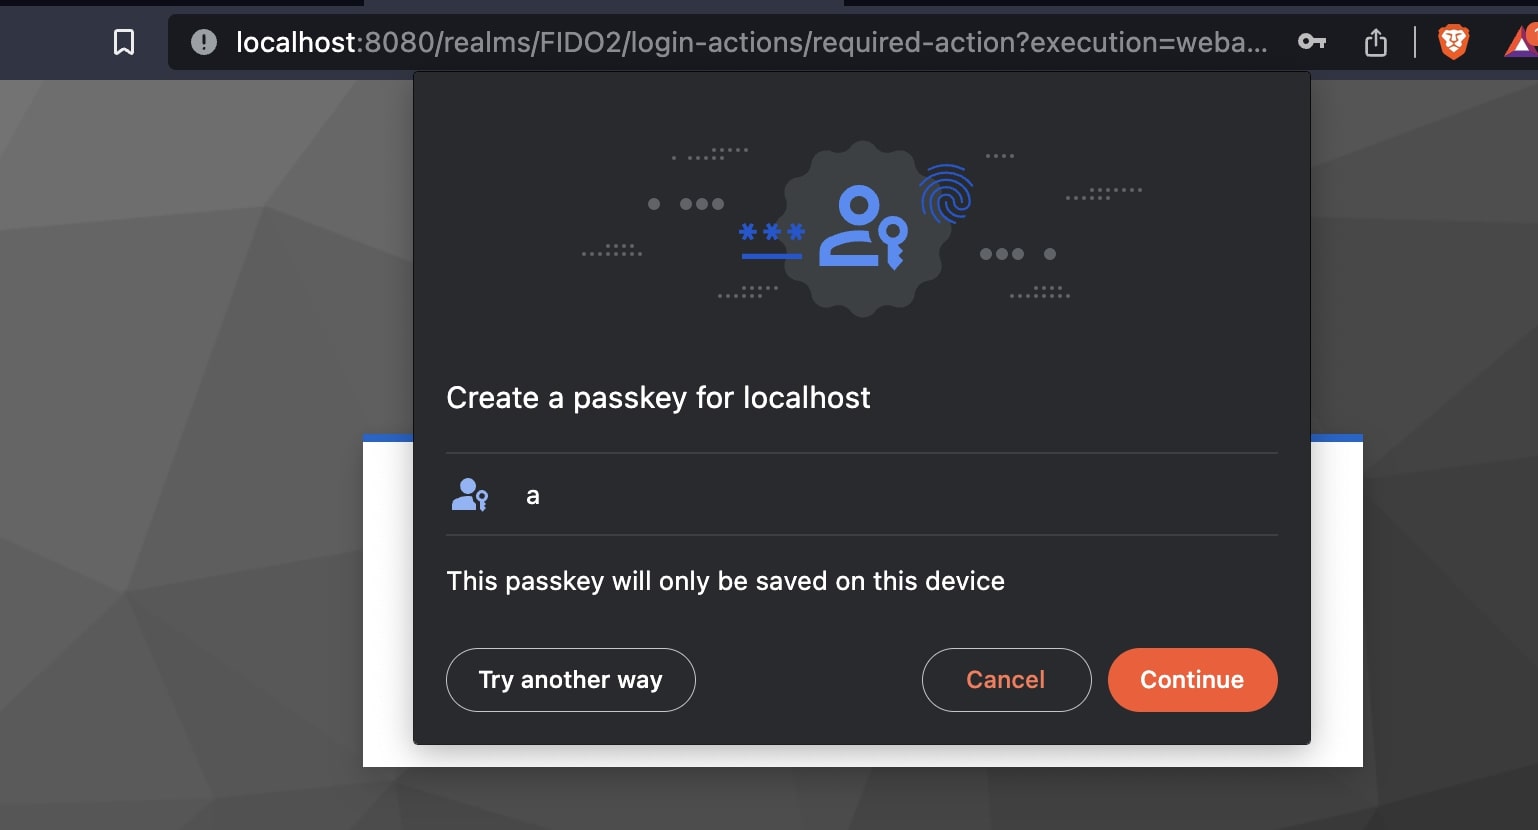
You can either select the default authenticator (i.e your laptop itself) or you can try another way and select a different authenticator device( e.g your mobile phone).
In this case, we will use the laptop itself and click continue.

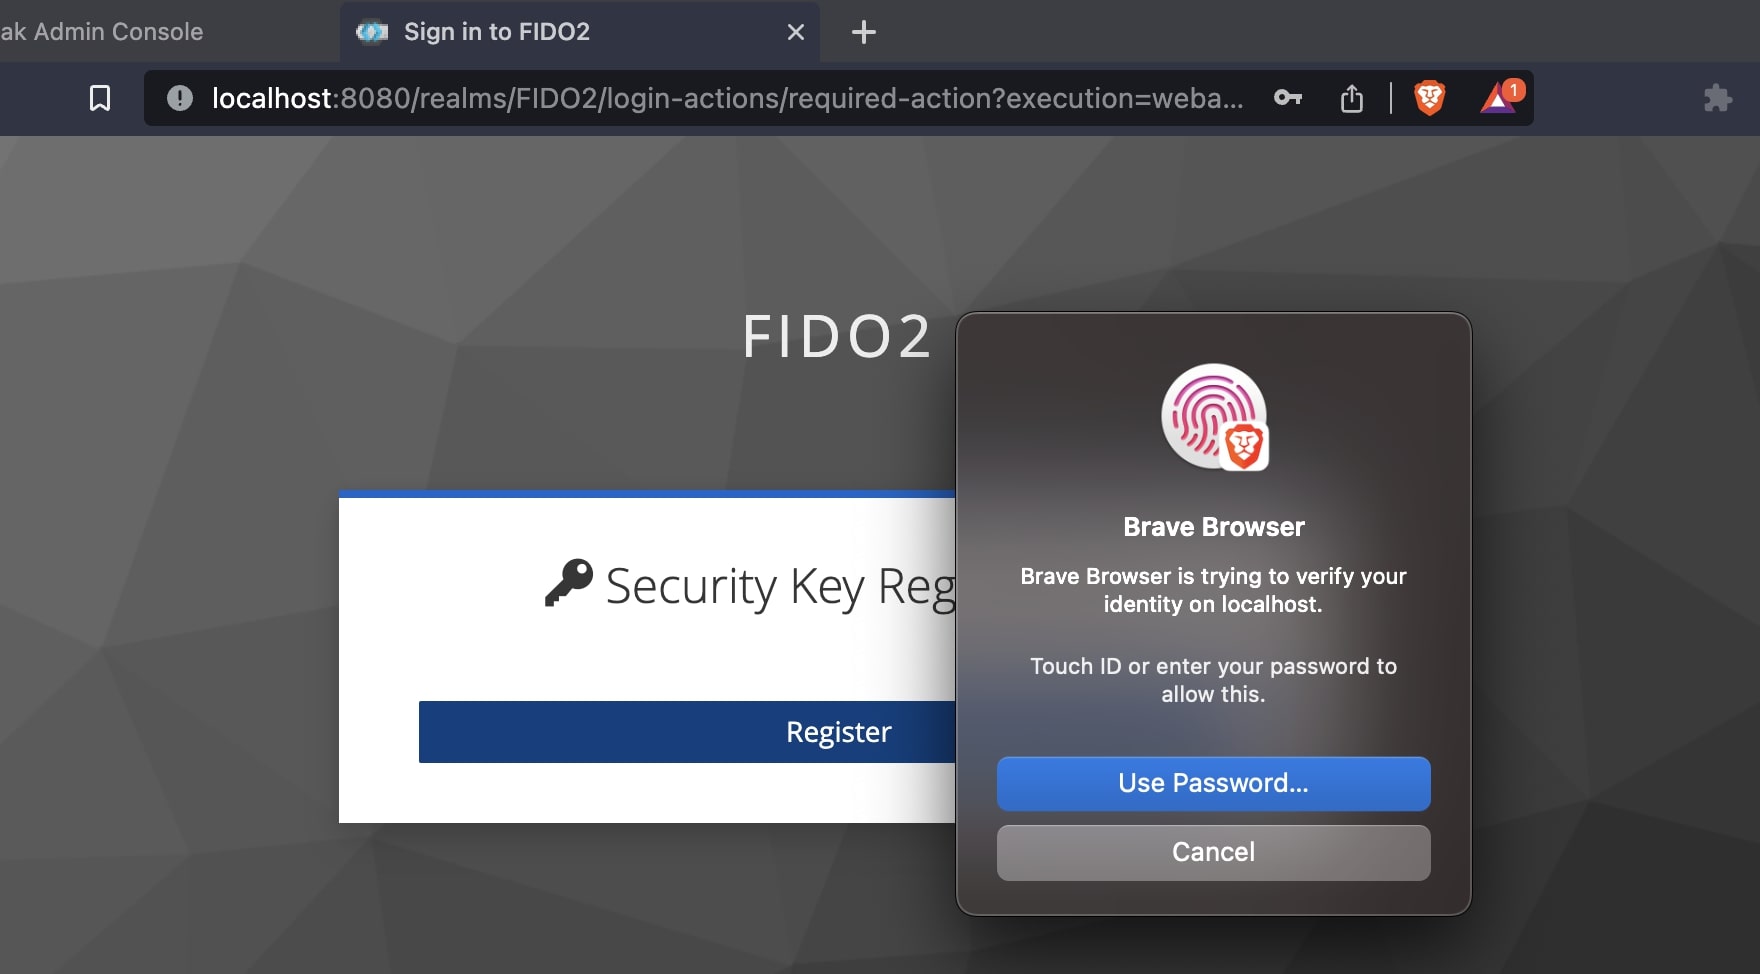
Once you authenticate with your fingerprint or password of your laptop, you will be asked to give the authenticator a name.

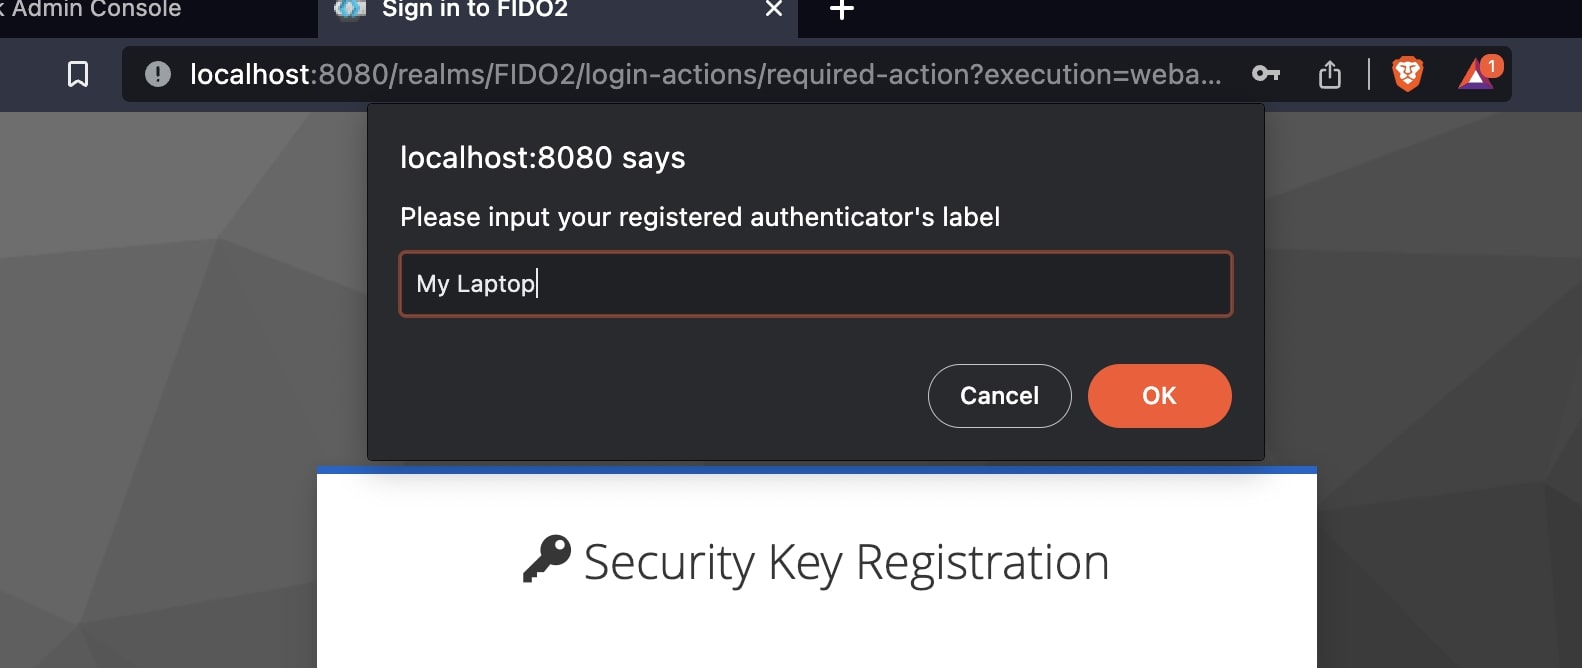
Let’s give it the name “My Laptop”.
With this, we just registered a user with a passwordless security key.
Now let’s try logging in.
Login in with Passwordless Authentication
Once you click the “sign-in” button from the Keycloak URL, you will be presented with a login form as shown below

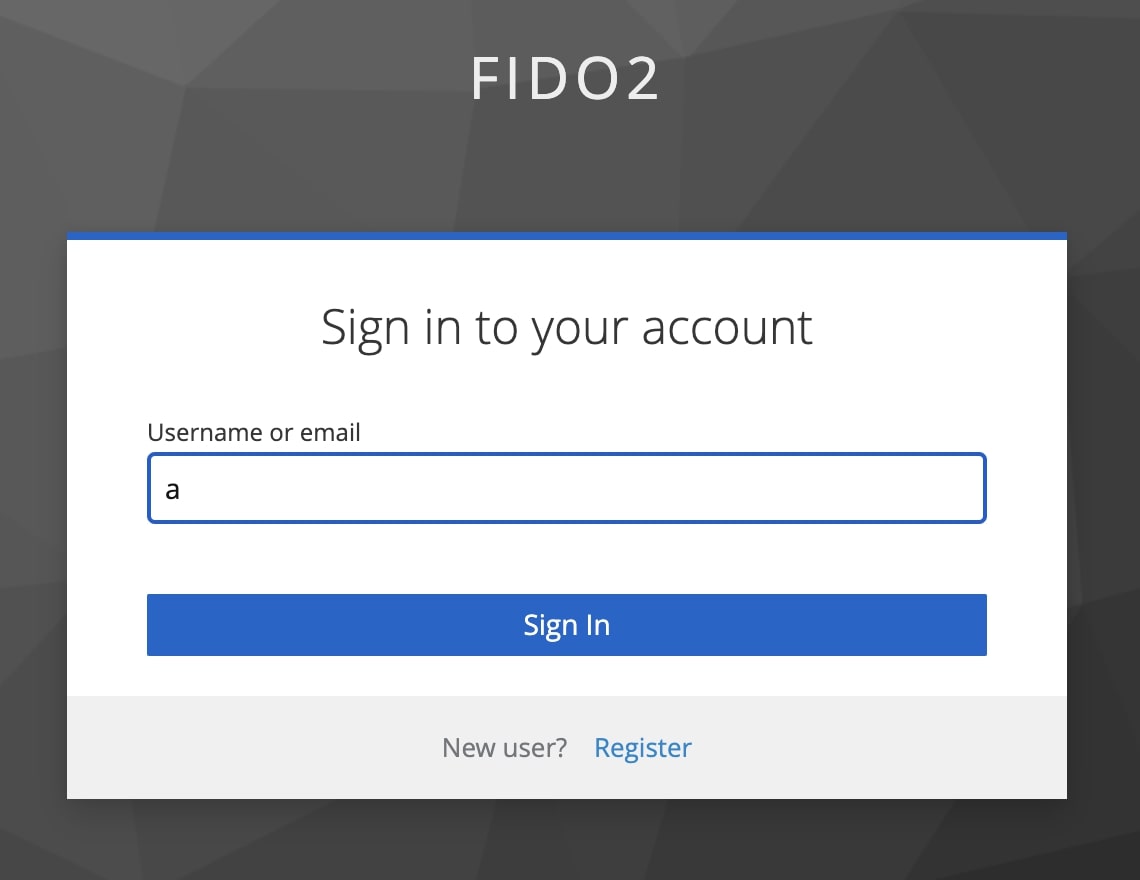
Enter the username and click “Sign In”. You should be prompted to select the authenticator.

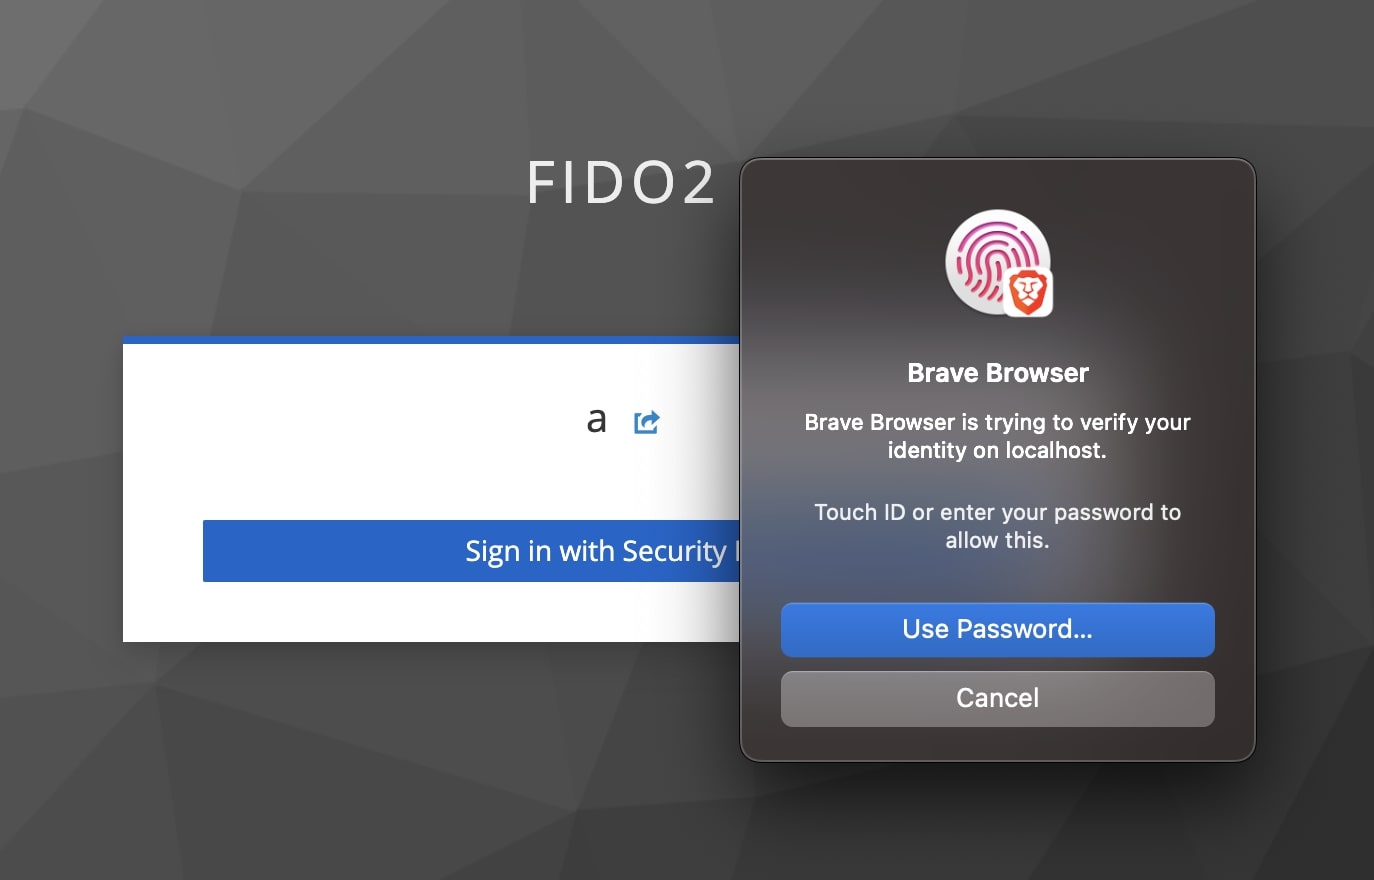
Once you verify your identity with your fingerprint or laptop password, you will be logged in.
You can view a live demo of the entire setup in the Youtube video above.
Next...
If you're a software developer looking to expand your knowledge and skills, I would highly recommend these three articles:
- Keycloak OAuth2 OIDC Integration
- Kick Start Spring Boot On AWS Lambda
- Resource Server with Keycloak RBAC
I keep exploring and learning new things. If you want to know the latest trends and improve your software development skills, then subscribe to my newsletter below and also follow me on Twitter.
Enjoy!!