
- Published on

- Authors
- Name
- Amrut Prabhu
- @amrutprabhu42

In this article, we will be creating a ReactJS app to view your crypto balance and transfer tokens from your account to another account.
Introduction
In my previous article, We created a new ERC-20 based Ethereum crypto token called “Nice token” and this article is a follow-up to it to create a cryptocurrency wallet to send tokens from one account to another.
For this, we will create a small ReactJS application that will allow you to display the tokens in an account and also allow you to transfer tokens from one account to another.
With this let’s get started.
Creating the ReactJs App
Let's create a new React application using the following command
npx create-react-app blockchain-wallet
Note: While creating this app make sure you have nodeJS version 16 or below and after creating the app, update the “react-scripts” version to 4.0.3. There is currently a bug while using version 5.0.3. when running the application locally using webpack.
Next, we will need to copy the compiled smart contract that we built and deployed from the truffle project to the ganache Blockchain. You will find the compiled contract under the build directory of your truffle project.

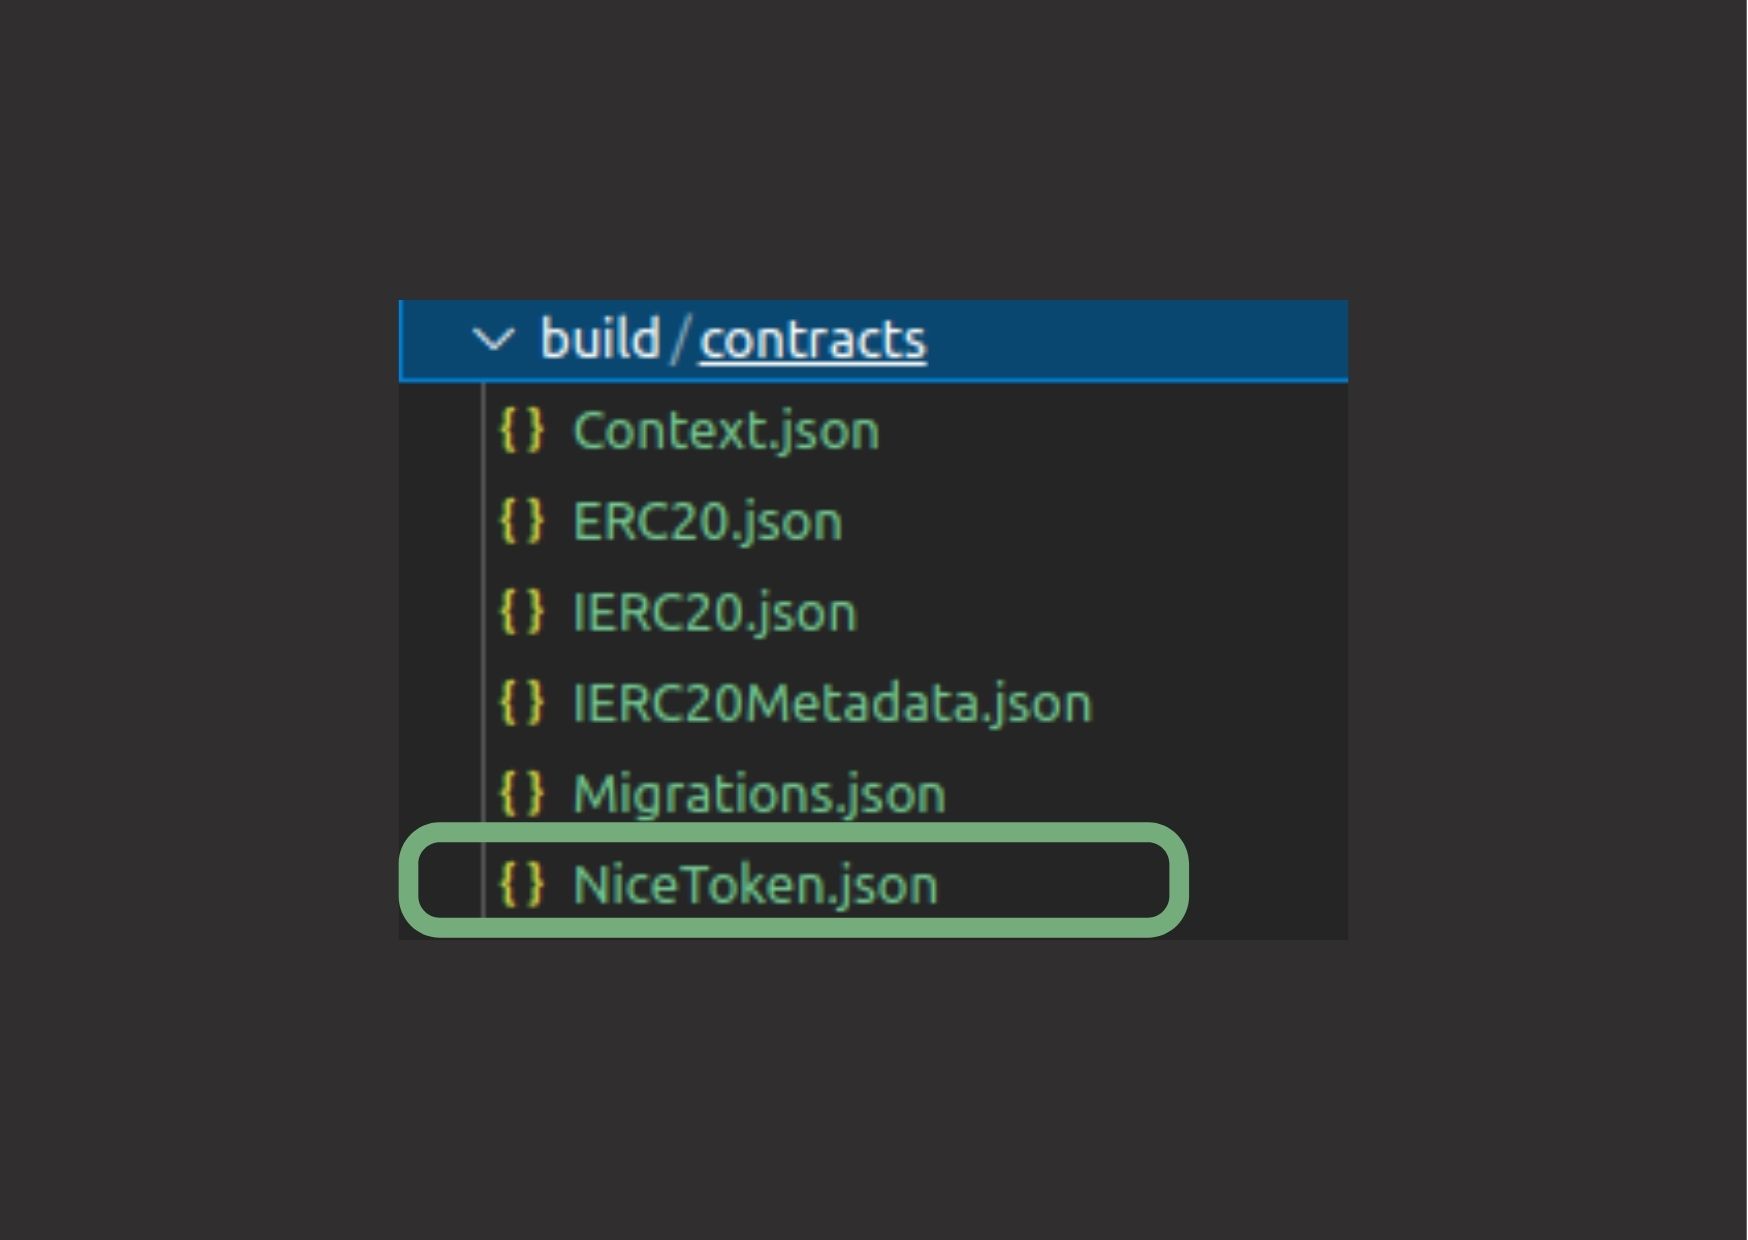
Let’s copy the NiceToken.json to the root of the ReactJS project.
Next, In order to communicate with the blockchain network, we are going to use Web3. We can install this using npm.
npm install web3
Connecting to the Blockchain Network.
Using Web3, Let's connect to the local ganache blockchain network using the following code.
useEffect(() => {

const loadWeb3 = async () => {
    // Connect to Local blockchain network
    window.web3 = new Web3(new  Web3.providers. HttpProvider("http://localhost:7545"));

      // To Connect to MetaMask
      // window.web3 = new Web3(window.ethereum);

};
Once this is done, we can now communicate with the local Ganache Blockchain network using Web3.
Fetching Data from the Blockchain Network
Now, let's fetch all account addresses on our local blockchain network and set the first account details in our cryptocurrency wallet.
const loadBlockchainData = async () => {
  const web3 = window.web3
  const accounts = await web3.eth.getAccounts()
  const niceContractAddress = '0xdE928AC7259340545Ed8Fa290588a8b0076Ff9F4' // Contract Address Here

  const niceTokenContract = new web3.eth.Contract(NiceToken.abi, niceContractAddress)
  setContract(niceTokenContract)
  setAccounts(accounts)
  setAccountDetails(niceTokenContract, accounts[0])
}
As you see here, In order to get the smart contract itself, we have specified the address where the smart contract was deployed. Remember, we got this address when we deployed the smart contract on the blockchain. Using this, we can then fetch the account details of the first account and set the details on the screen.
const setAccountDetails = async (niceContract, account) => {
  setAccount(account)
  const balance = await niceContract.methods.balanceOf(account).call()

  const web3 = window.web3
  setbalance(web3.utils.fromWei(balance.toString()))
}
So this is how you can communicate with the Blockchain network and fetch account details using Web3.
Next, let's look at how we can transfer some tokens from one account to the other.
Transferring Crypto Tokens to another Account Address
For this, I have created a simple form that lists all the account addresses in a drop-down list, displays you the current account balance, and provides you a way to send tokens to another account address using the two text boxes.

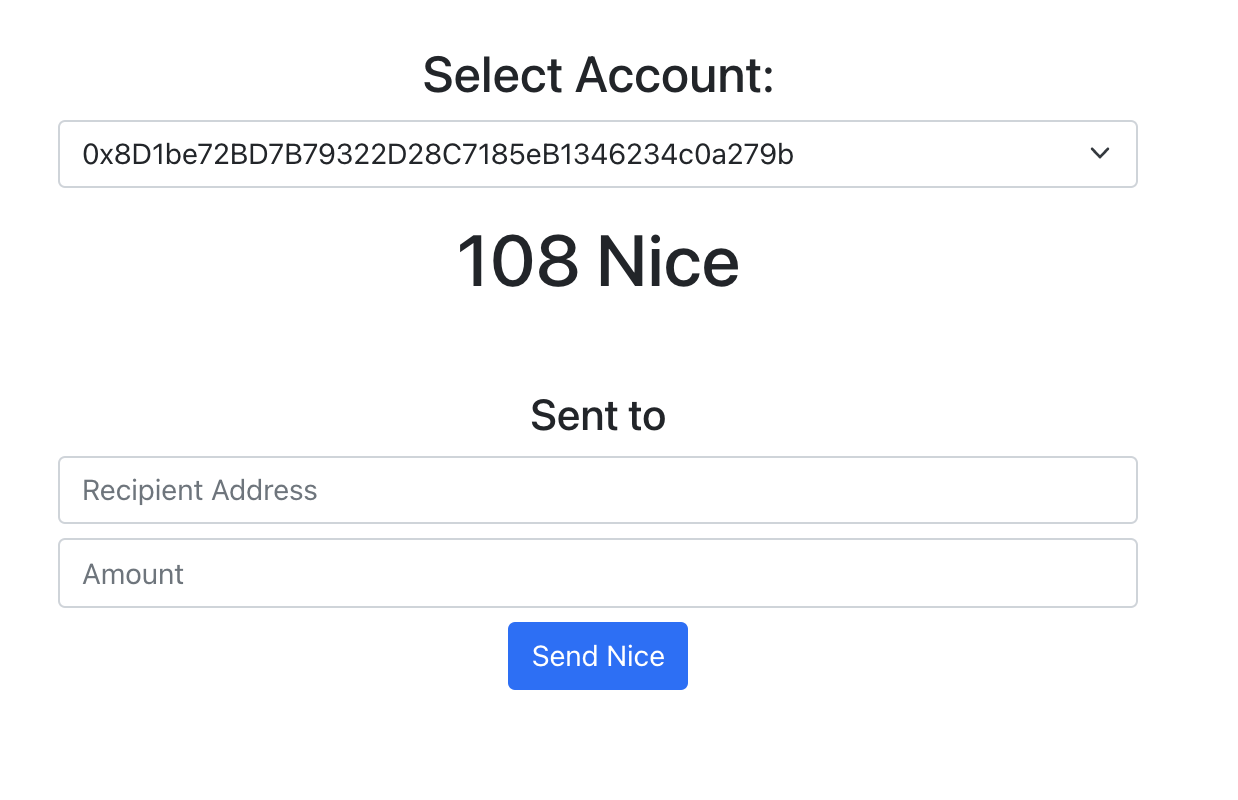
Let's look at how we can transfer some tokens to another address.
const transfer = async (recipient, amount) => {
  await niceContract.methods.transfer(recipient, amount).send({ from: account })

  await setAccountDetails(niceContract, account)
}
Now after pasting the recipient’s address and amount in the text boxes, we click on the “Send Nice” button to invoke the above function. Here, using the transfer function from the contract, you can now transfer tokens from the currently displayed account to another.

With this, we just created an Ethereum Cryptocurrency Wallet and send some tokens from one account to another.
Conclusion
In this article, we created a ReactJS App that will allow us to view an account’s token balance and also transfer tokens from one account to another.
You can view the entire source code on my GitHub repo here.
I keep exploring and learning new things. If you want to know the latest trends and improve your software development skills, then subscribe to my newsletter below and also follow me on Twitter.
Enjoy!!